The FeelingSurf team is pleased to announce yet a new feature available for all users of our free traffic exchange platform: website labels!
What are labels?
A label is simply a tag that you be attached to one or multiple websites.
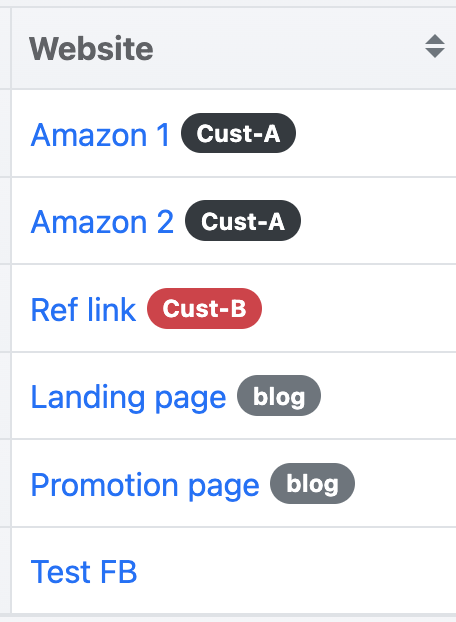
How to create labels?
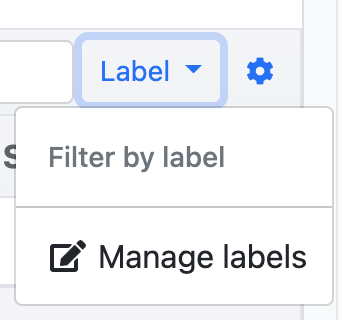
From the list of your websites, locate and click the “Label” button as shown below. In the sub-menu click on “Manage labels”.
Click on “New label”. A popup window should open as show below.
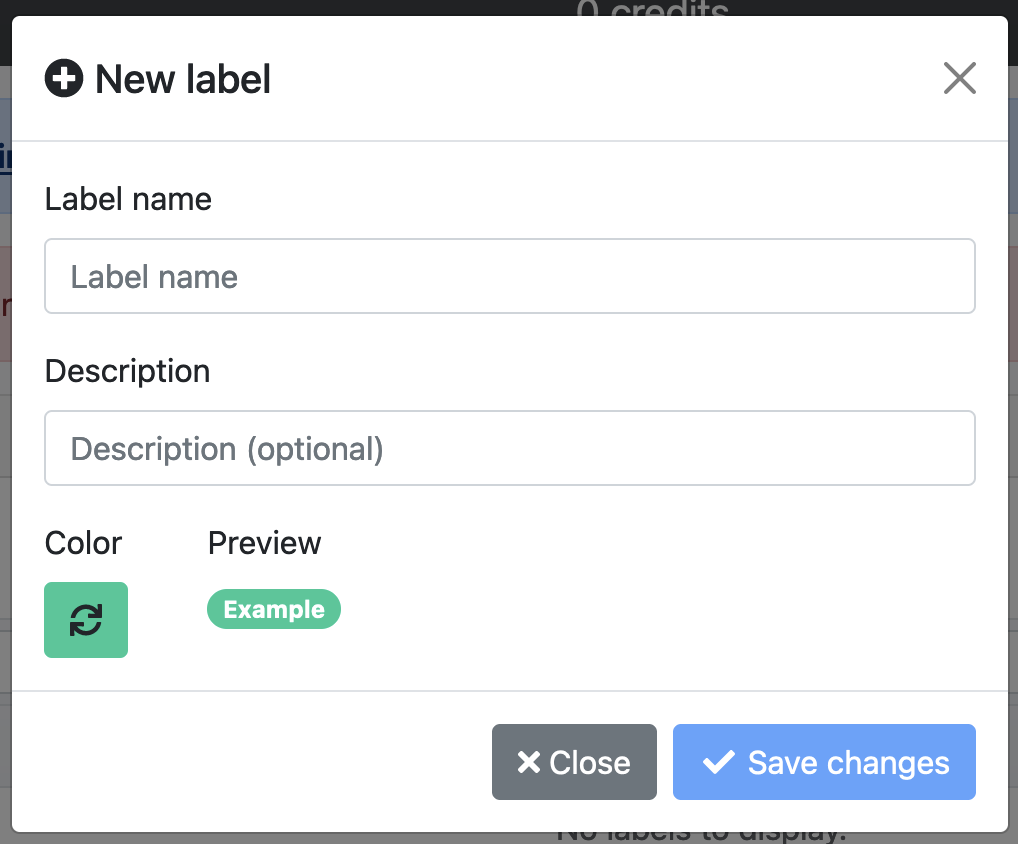
After choosing a name, description and a color, click “Save changes” and go back to “My websites” from where we will see how to attach a label to a website.
Attaching a label to a website
Click on your website’s name to open a similar window as below.
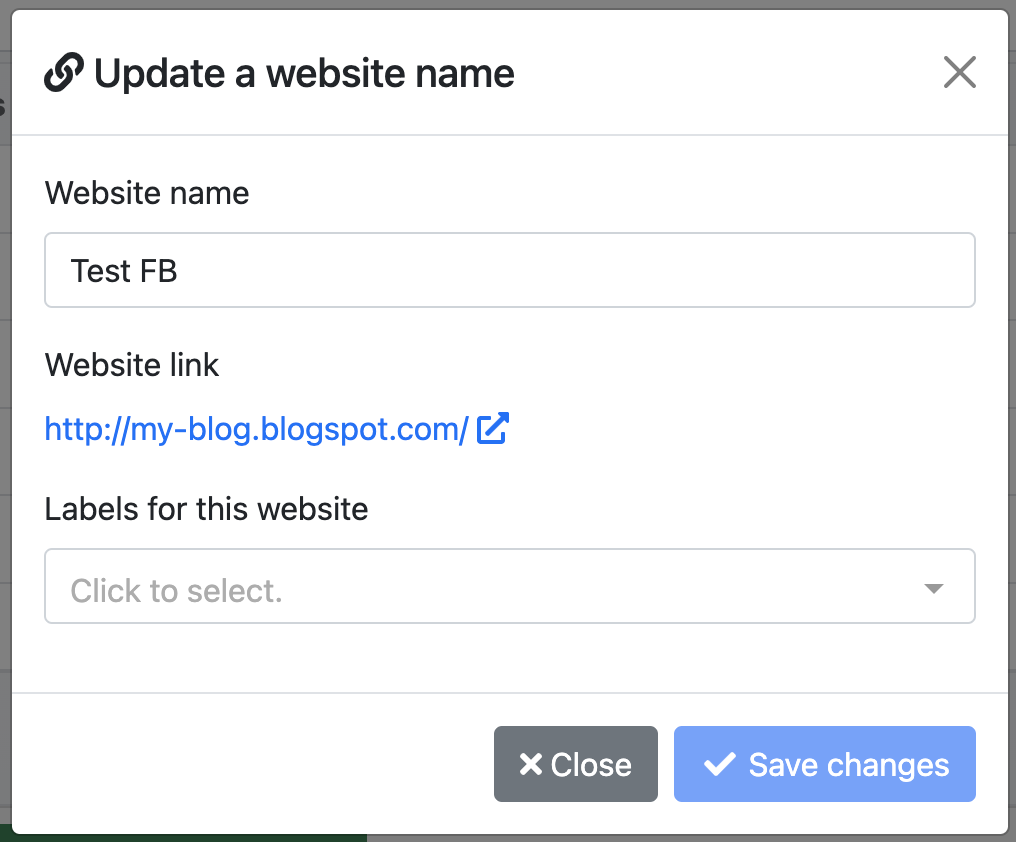
Select your label among the list and click on “Save changes”. Congratulations, you have attached a label to a website!
Filter websites by labels
The main purposes of labels is to be able to filter your websites by labels. You can do that by clicking “Label” next to the websites search bar as shown below.
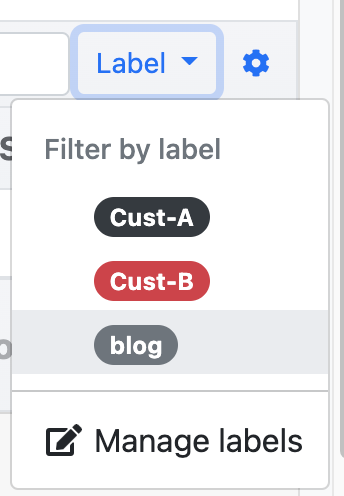
Now you will only see the websites that have the selected label as shown below.
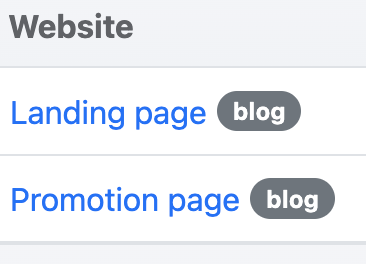
You can see that a filter is active by checking the blue number next to the “Label” button as the following screenshot shows.

You can remove a filter by opening the sub-menu from “Label” and click on the desired label.
Closing thoughts
This new feature can be really helpful for users who own hundreds of websites. You can now group your websites by customer or domain.
It is possible to add up to 3 labels per websites and you can have 100 labels in your account.
You will find this new feature directly in your FeelingSurf account. Don’t have an account yet, join our traffic exchange today and get 100 free hits.
